We did it! We stripped, renovated, designed and decorated our baby’s room over the past few months with just a couple weeks to spare before he arrives. This became the perfect mix of calming, creative, cozy and a nod to Hunter and I’s love for nature, plants and animals. I hope that it will help foster baby’s creativity and a love for these things as well, while also acting as a space to play and learn and will become his own little retreat as he grows. I did not choose a lot of baby specific pieces because I wanted it to be a room he will grow with and a space that we all love and enjoy for years to come. I’m so excited about how this major transformation (you can see the before photos at the bottom of this post) turned out. I owe the credit to Hunter because it is his skills and craftsmanship that really brought all the details together. I am a constant idea factory but with little know how of getting from A to Z. I will say it again, I’m so thankful he’s handy and willing to humor me. I think he starts out a little scared of my wishlist but then we both have felt so accomplished as each phase of our reno comes together. This house will be (already is) something we take great pride in because we have made it a home together with our own hands. It’s really been a fun experience for us, we’ve learned so much (with the help of our parents too) and we are excited that baby will grow up learning to create and work with his hands right along side of us!
From the moment we found out we were pregnant, I knew that I wanted to go all out making a fun space for our baby. I didn’t see a ton of inspiration that thrilled me online and I remembered I saved this fern print wallpaper months prior. I knew I had to have it at some point in our renovation and I was thinking it would be perfect for our guest bath. When we found out little man was coming along, I thought where better to use it since I truly loved it so much! I went back and forth on whether to do an accent wall, the whole room or some sort of molding. I fell in love with the idea of board and battan style wainscoting (in any shade of green) for the bottom. Since we basically only had Saturdays and Sundays to work, this added several weeks (and a larger expense) to the plan but I am so glad we didn’t compromise on any detail here because it turned out so beautifully. This was his first time doing wainscoting and I am beyond impressed! From there, I picked out many, many green swatches. I maybe painted at least 10 blobs on the wall before we settled on this minty color to bring out the ferns in the wallpaper. It happened to be called “Calming Green” which definitely feels appropriate for a nursery.
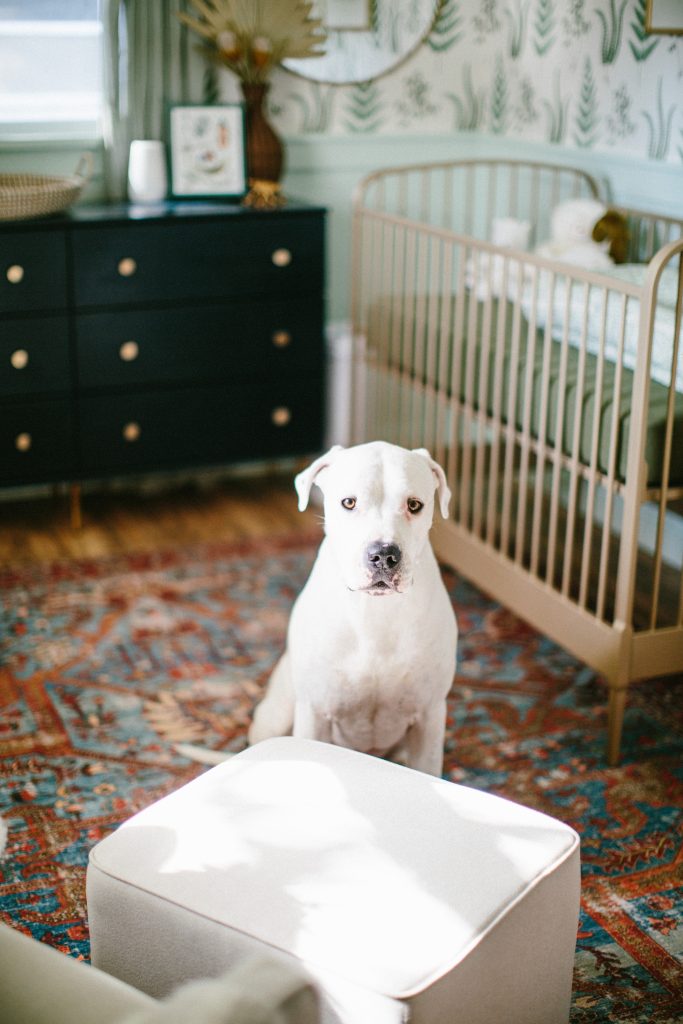
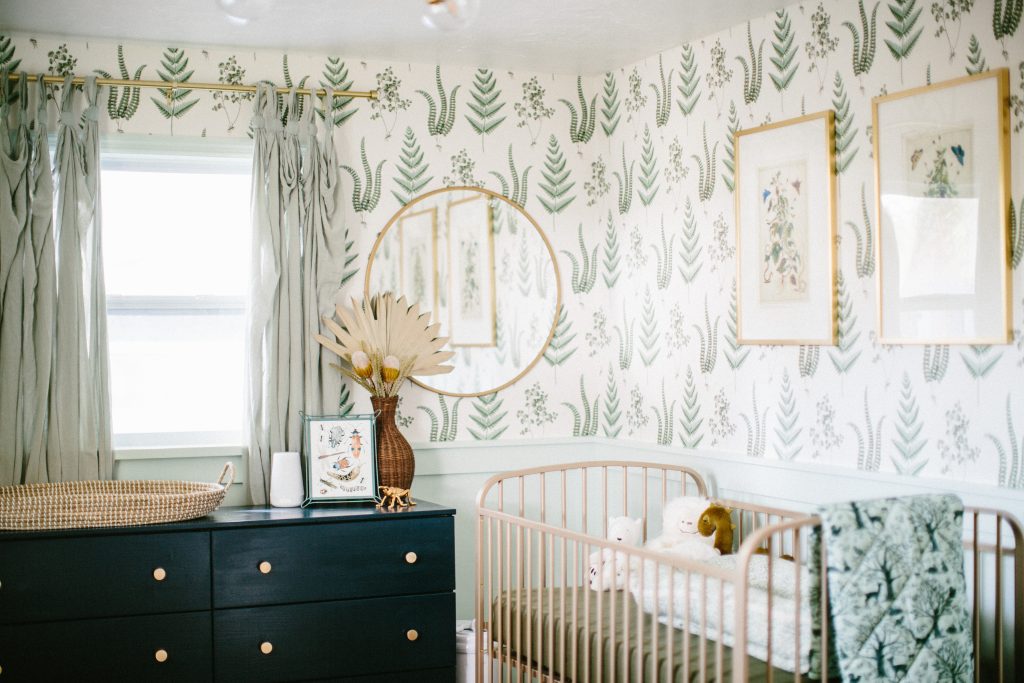
From there, I decided I had to have a gold crib and there was no going back. I searched and searched and landed on a subtle metallic beauty from Crate and Barrel (which was back ordered for months). After the green and gold palette was set in stone, it just kind of rolled from there. I wanted a touch of boho/vintage and felt like I needed a darker grounding color to balance out the pastel. The rug was purchased and then my seemingly endless hunt for a navy dresser started next. After finding a few I loved with pretty hefty price tags, I set out to do an Ikea hack and I am SO happy with how it turned out (I’m going to do a separate post with details on this!). Over the next few months, I had fun collecting little things here and there that would make it feel complete. Scroll on through the post for some of the pieces I found and special touches we added!
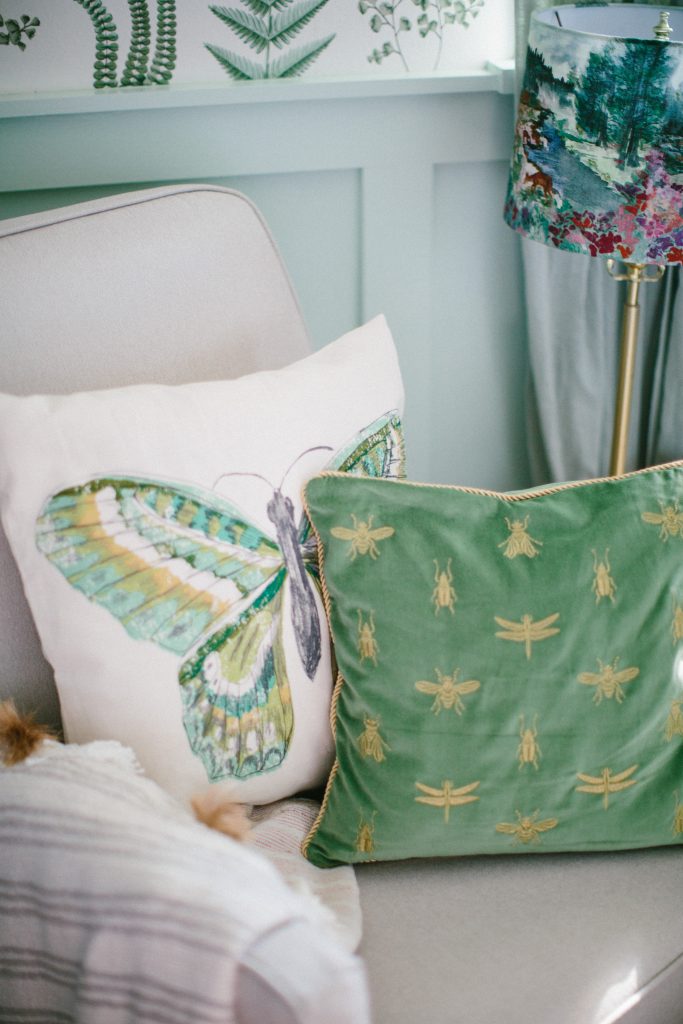
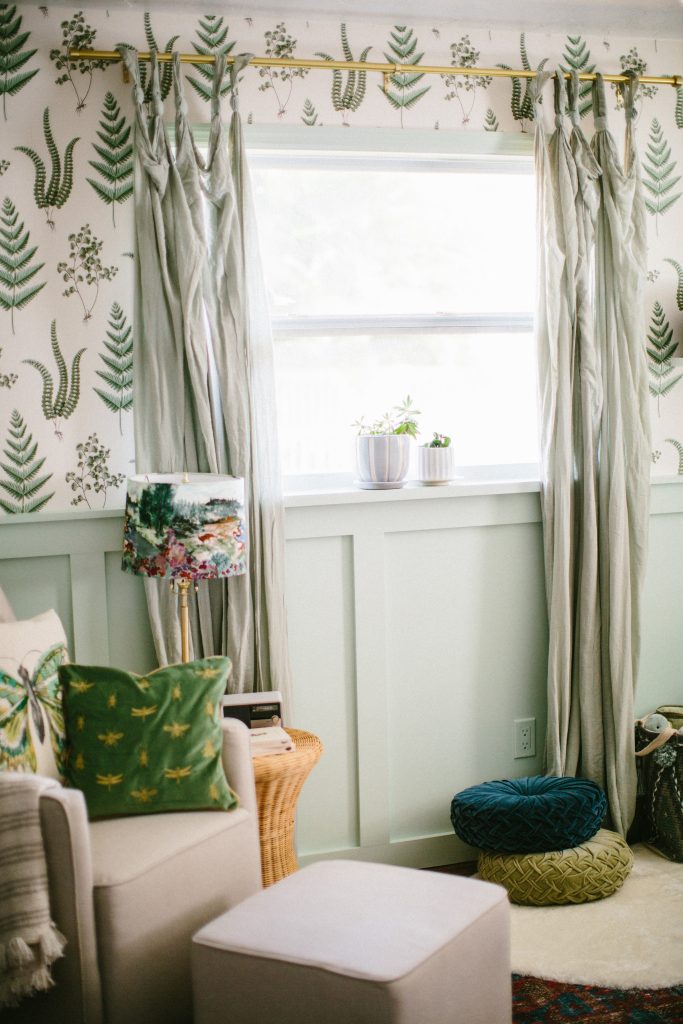
Wall Color: Behr “Calming Green // Wallpaper: Anthropologie // Glider: Target // Butterfly Pillow: Ikea // Embroidered Bug Pillow: H&M // Round Floor Pillows: Urban Outfitters // Curtain Rods: Target // Curtains: Urban Outfitters (I stole from the guest room because they matched perfect so now I get to sort of redecorate and finish that room next!)
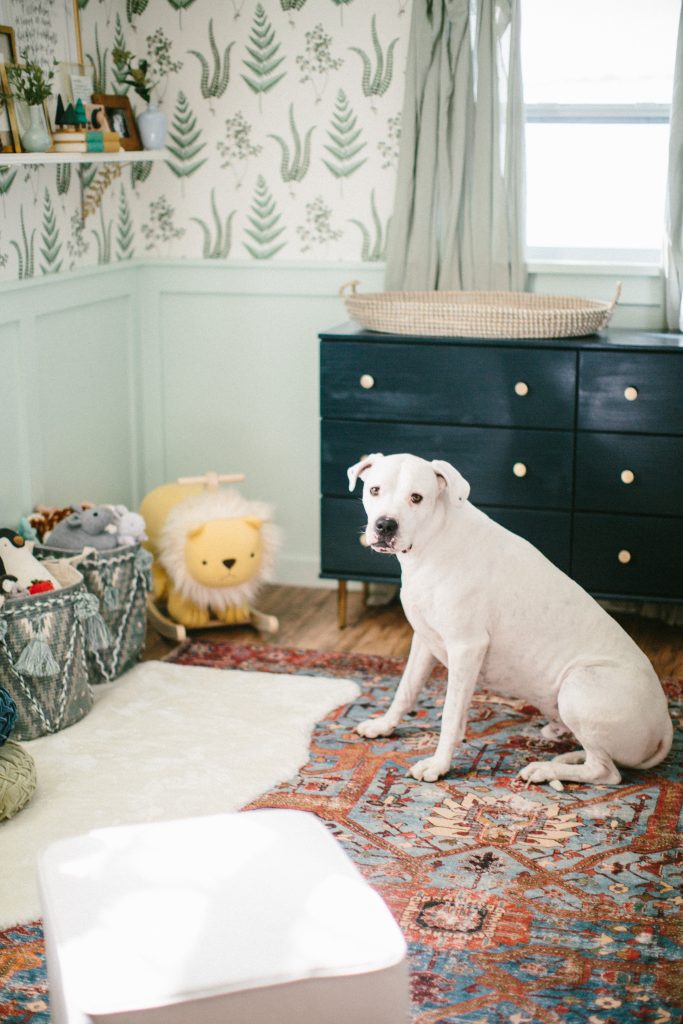
Dresser: Ikea hack (will post more details soon) // Rug: Urban Outfitters // Faux Fur Throw Rug: Ikea // Baskets: Anthropologie (filled with some very adorable Jellycat toys) // Lion Rocker: Crate & Barrel // Changing Basket: Anthropologie
And one very curious puppy who is convinced all of these toys and things are for him 🙂

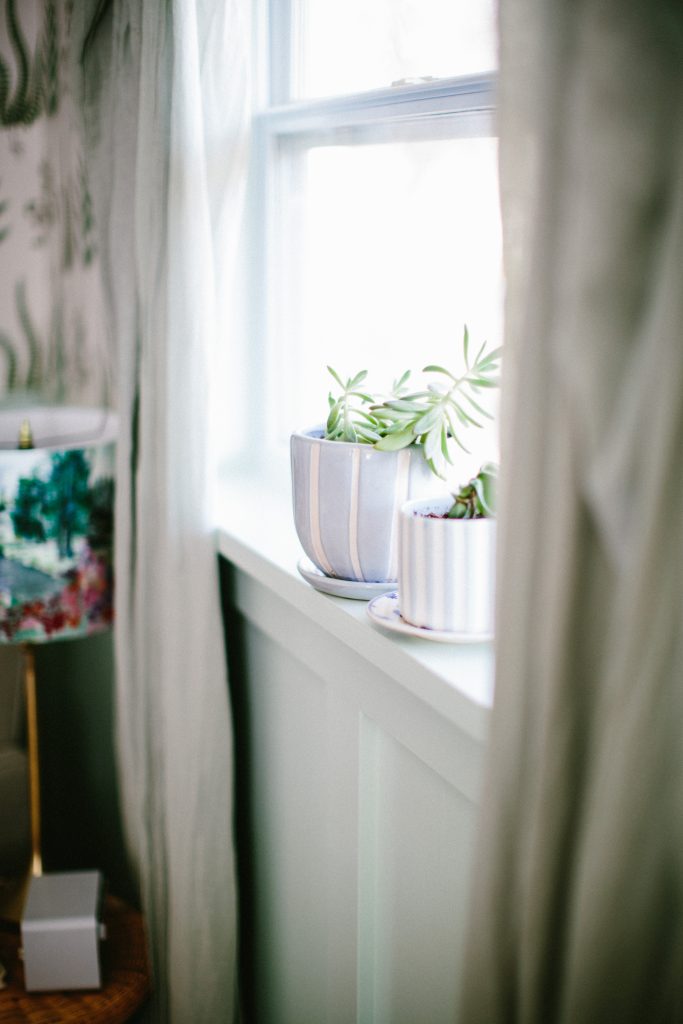
Little planters from Target

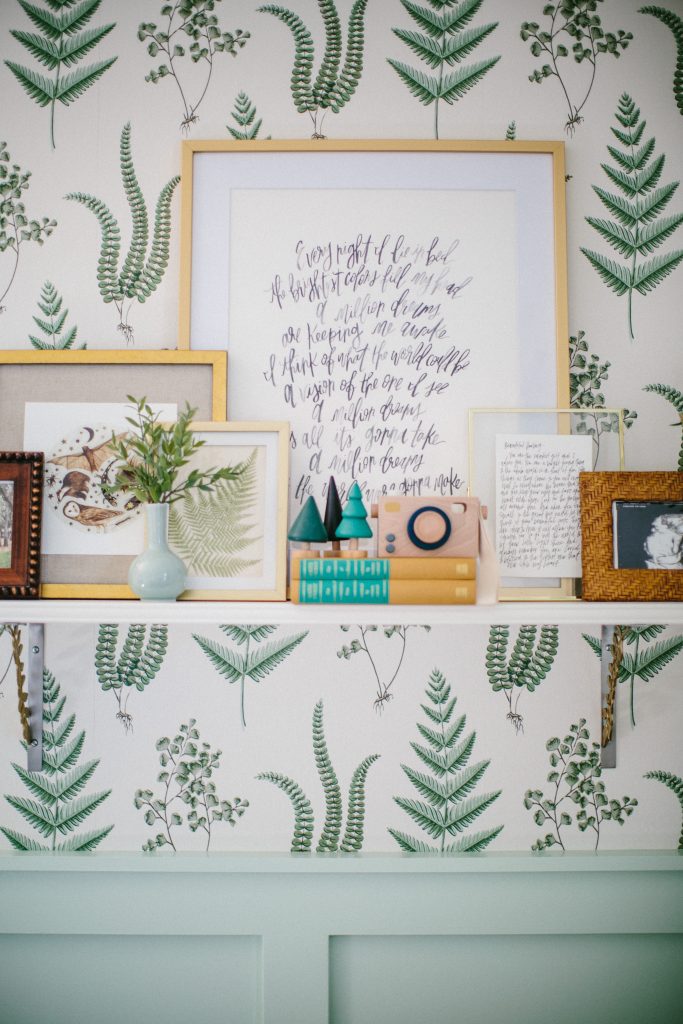
White Shelf: Ikea // Leaf Brackets: Anthropologie (old) // Gold Frames: West Elm // Brown Frames: Thrifted // Wooden Camera & Trees: Target // Thrifted vases // I painted the quote (a song from The Greatest Showman) for the large frame, the fern print is vintage from Etsy and the nocturnal animals print is from Minted

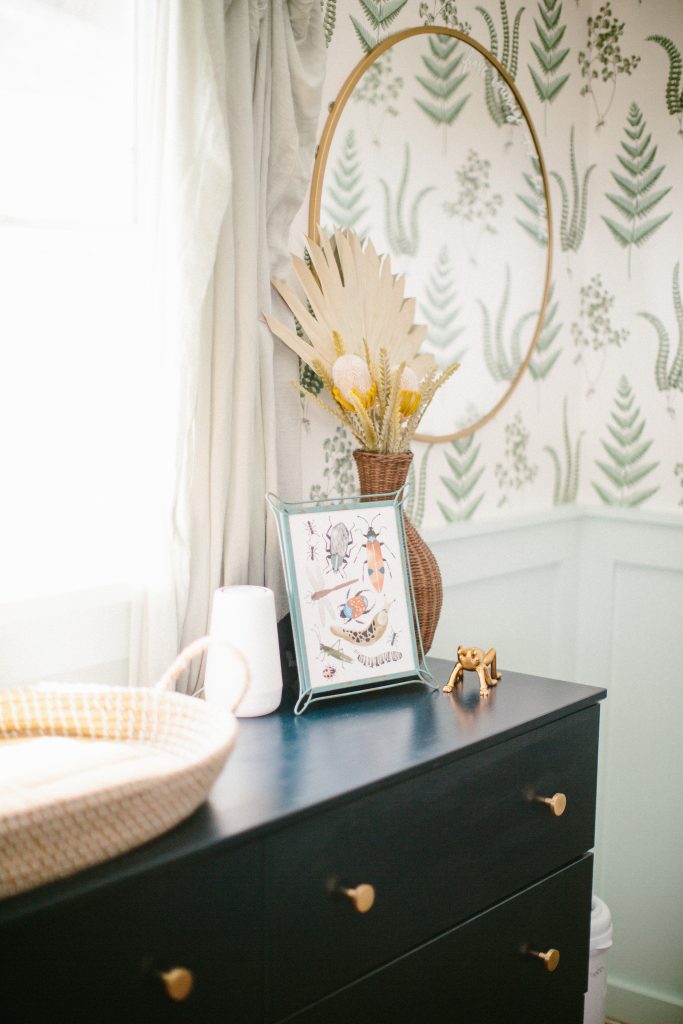
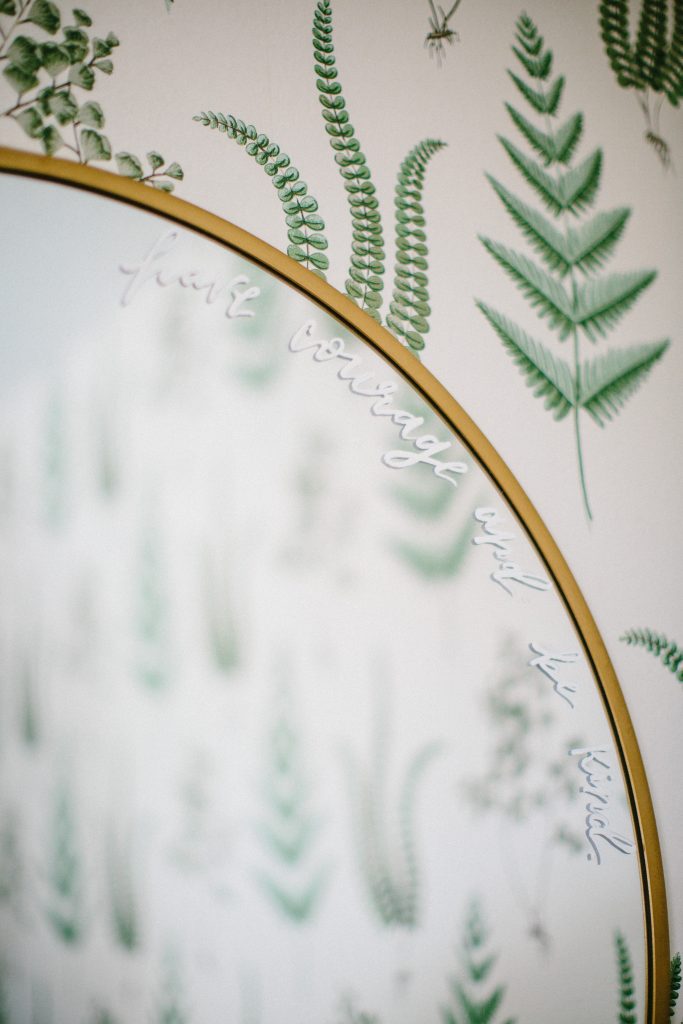
Frame & Rattan Vase: Thrifted // Bug Print: Minted // Grasshopper: Target // Hatch Sound Machine // Mirror: Target – I repurposed this from our old house and added a hand painted “Have Courage and Be Kind” (from Cinderella) around the side
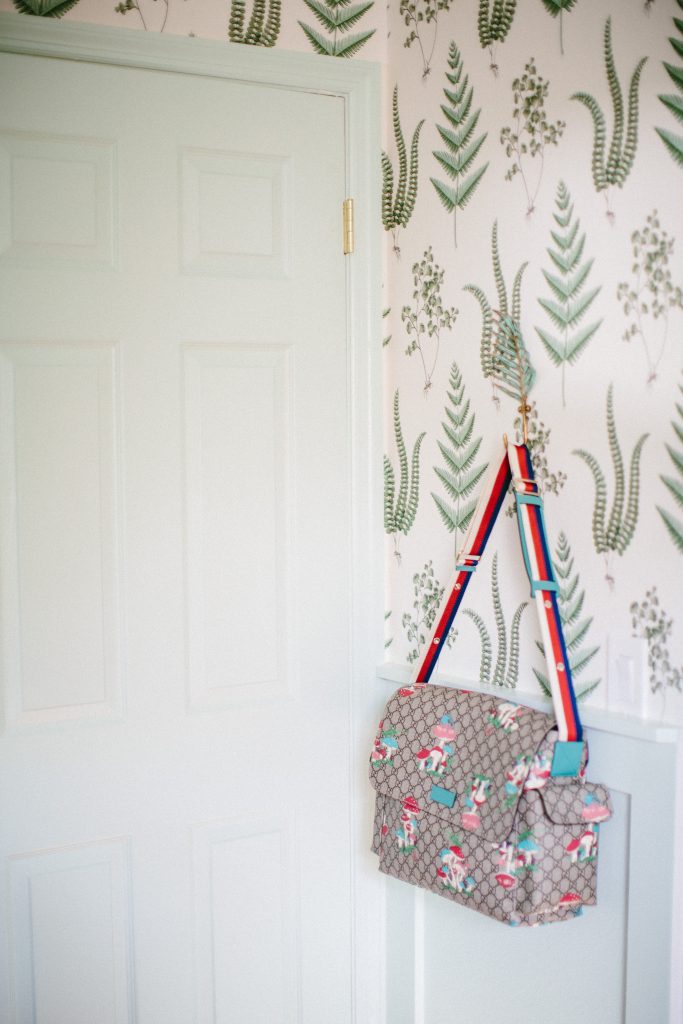
I love that we decided to paint the trim and the back of the door the same shade of green, I think it’s a fun pop! Leaf hooks: Anthropologie (I need to add a few more for his cute hats and such)
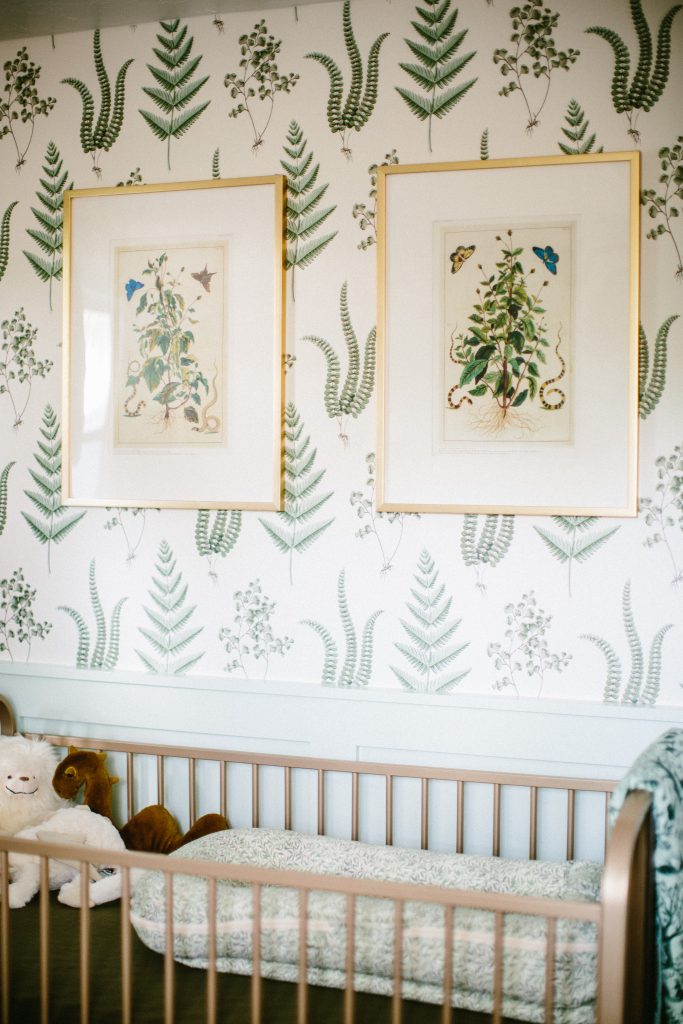
I really love the art we choose. My friend gave me an old vintage botanical book with the most gorgeous illustrations of all kinds of animals. We loved the snakes! Hunter made the mats for them and I used Target poster frames
Crib: Crate & Barrel // William Morris & Co x Dock-a-Tot // Crib Quilt: Ikea // More monster/dragon Jellycats 🙂
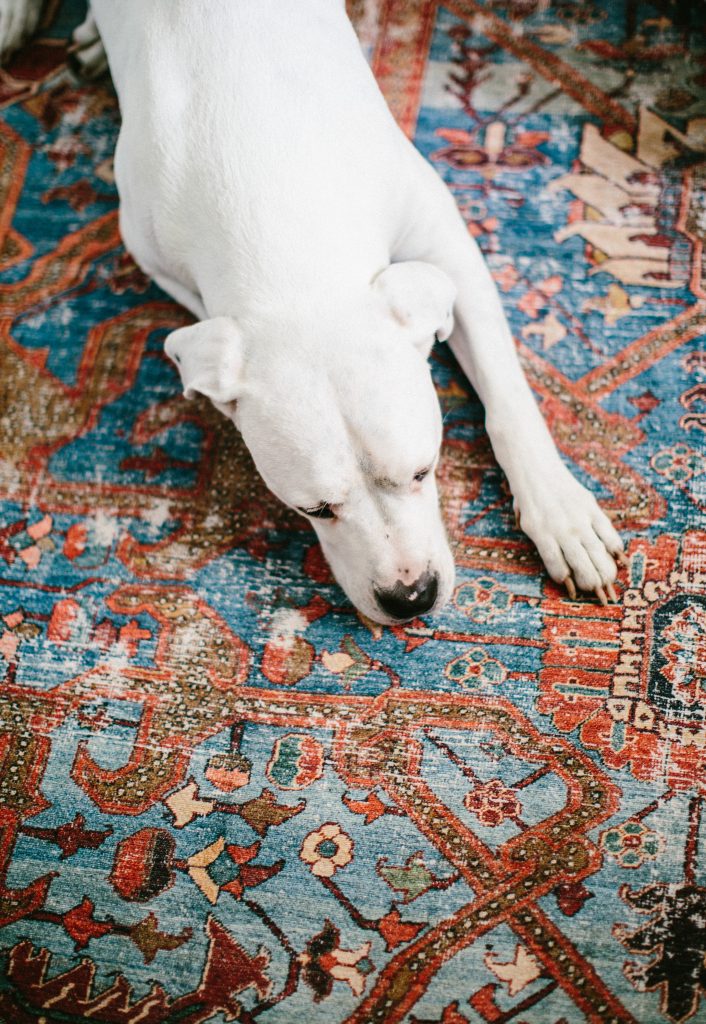
Rug: Urban Outfitters – I really love the faded / vintage look of it and it helped add the touch of boho I was wanting.
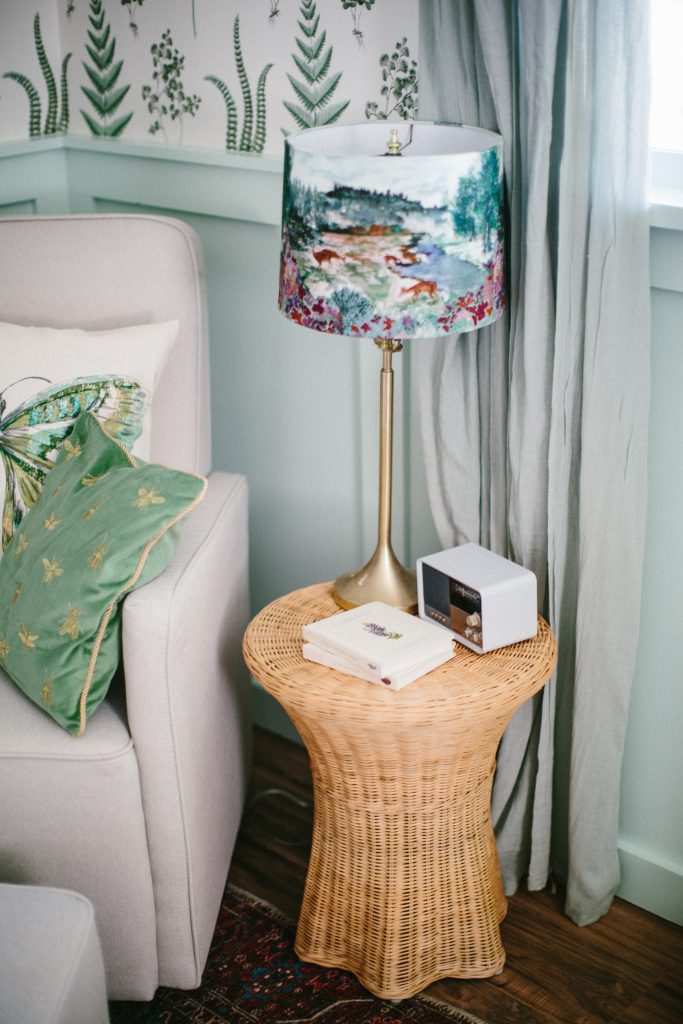
Lampshade: Anthropologie // Gold Lamp Base: Kate Spade // Side Table: Urban Outfitters // Crosley Radio: Urban Outfitters
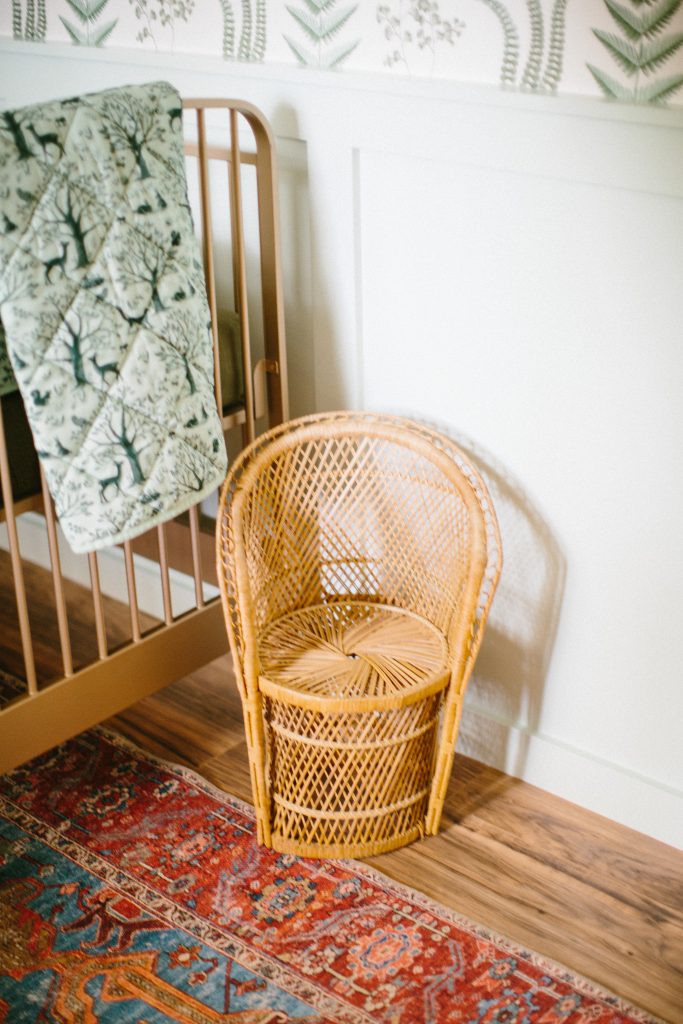
I thrifted this little chair years ago and used to use it as a plant stand. So glad I hung on to it.
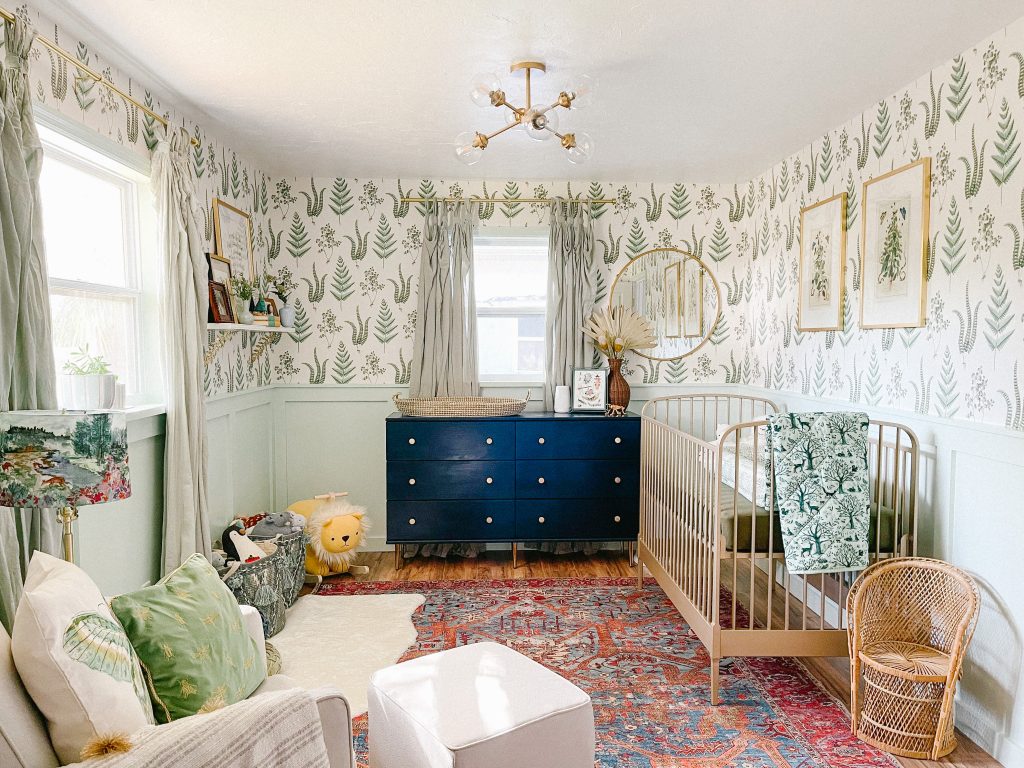
An Iphone snap for the (almost) full view 🙂
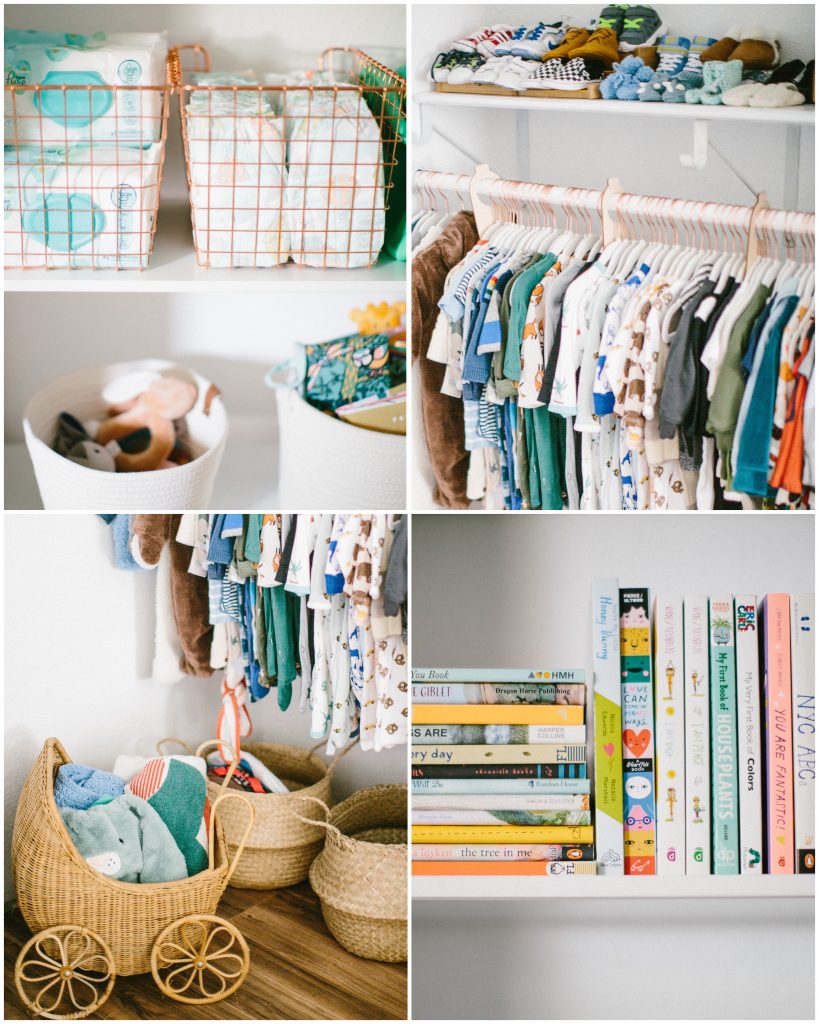
Closet in progress – it became such a large space (the largest closet in the house) we really want to build a system that makes sense for years to come. For now we just added a rod and a few shelves from Ikea. Bin and baskets a mix of Target & Ikea for supplies and toys, velvet hangers from Amazon, a spice rack from Home Goods for his little shoes (although I underestimated how many I have already, whoops). I thrifted this little buggy, my mom cleaned it up and made a fabric liner for it and it is currently holding our favorite blankets 🙂
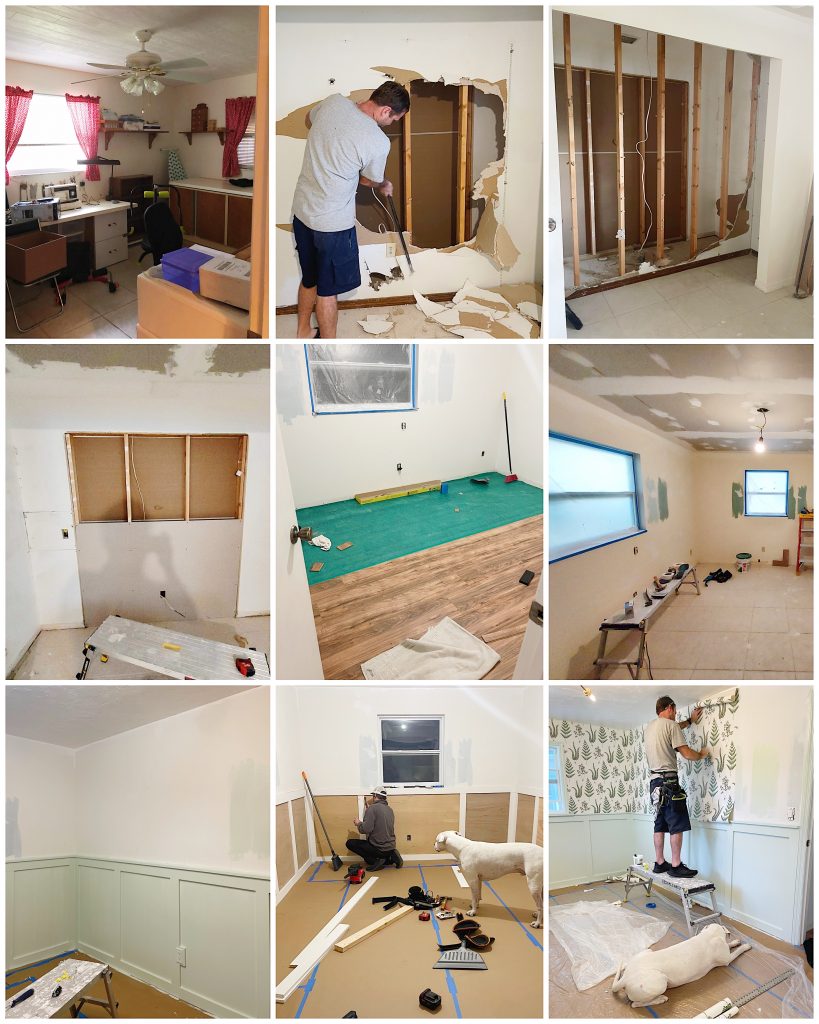
Now here is the before and in progress! The first / top left photo was when we toured the house before we bought it. It was a dungeon. lol. The next two photos show the closet, on the other side of this wall was a bedroom but we decided to knock down the wall in there to give us a second living area right off the kitchen. So we closed in the closet and knocked the wall down in the baby’s room (pics 2,3,4) so this made his closet massive and we still need to do a build out with shelving but decided to wait and see what would be the most functional for him to grow with. The ceiling was this faux wood foam stuff, I don’t even know…so that came down and new drywall went up (pic 6). We laid the same flooring in here that we did throughout the rest of the house. Then the wainscoting process, painting, window trim (since there was none before), a new door (because it was the only one that didn’t match the others and was pretty damaged), wallpaper next and then decorateeeee! I’m sure I am forgetting a few steps a long the way but I am also going to lay out the actual renovation details in another post (with Hunters help) for those interested in what it actually entails to start a bedroom from scratch!
Hope you all enjoyed a walk through our process here! We are officially ready for baby!
XO