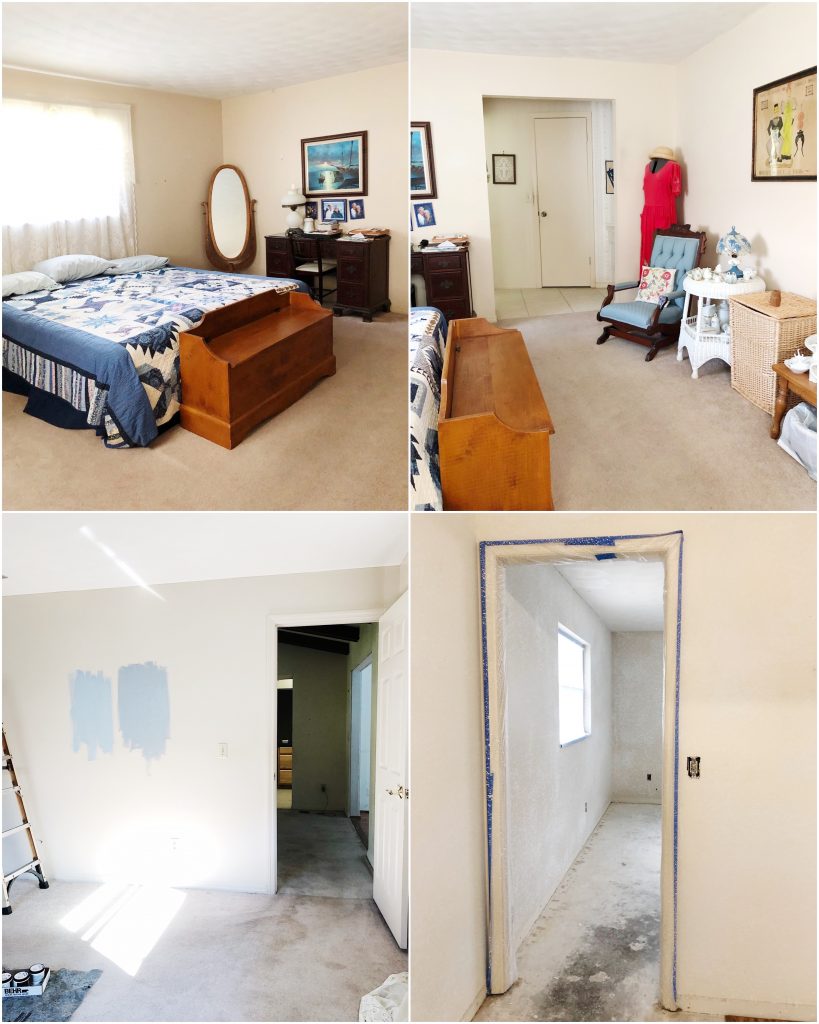
I wanted to give a recap of how we started our renovations this past year and show you the first “finished” room! I mentioned in my last post, we were lucky to be able to start on some major things before moving in as we had already been living with my parents after selling the bungalow. It made things a lot easier working on the floors, painting, etc. Hunter and his dad first began ripping out all the carpet. We had a few set backs with how damaged the wood was underneath. The carpet was only in our sitting, dining and main bedroom. We decided to work on this side of the house first so that we could move in asap and do the rest of the renovations while living here. Everything needed to be re-drywalled as well so it was quite the process. Especially in our sitting room. Prepping exposed beams was no joke but I’m so glad we took the time to refresh the drywall and give it all a consistent texture. One thing that was funny about the house is that almost every room was slightly different, there were different drywall textures on the ceilings and about three different prints of tile plus the carpet. I don’t know if this was due to additions the previous owners did over the years but I’m glad we decide to start over with all of that because it made it feel so fresh! Then of course it all had to be primed and painted. There was no trim on any window and no baseboards. The horror. My father-in-law did such a good job with this, it really made such a difference and he built extra wide window seals for my plants! Next we laid down the flooring in these three areas and then it was almost time to move in. We did a few things to the back yard, there was a “roof” connecting the main house to the cottage…I say “roof” because the previous owners built it themselves to basically just make a little shed/covered area where he did some wood working. The sides were open still and it was honestly a mess (crooked and leaking), so we took all of that down and will plan a cute walkway / garden in the future (the cottage will eventually be my studio!). Oh and there was the tons and tons of wallpaper we scraped off the walls. If you were following on instagram early on, I posted this progress in my highlights.
Now for the main bedroom!
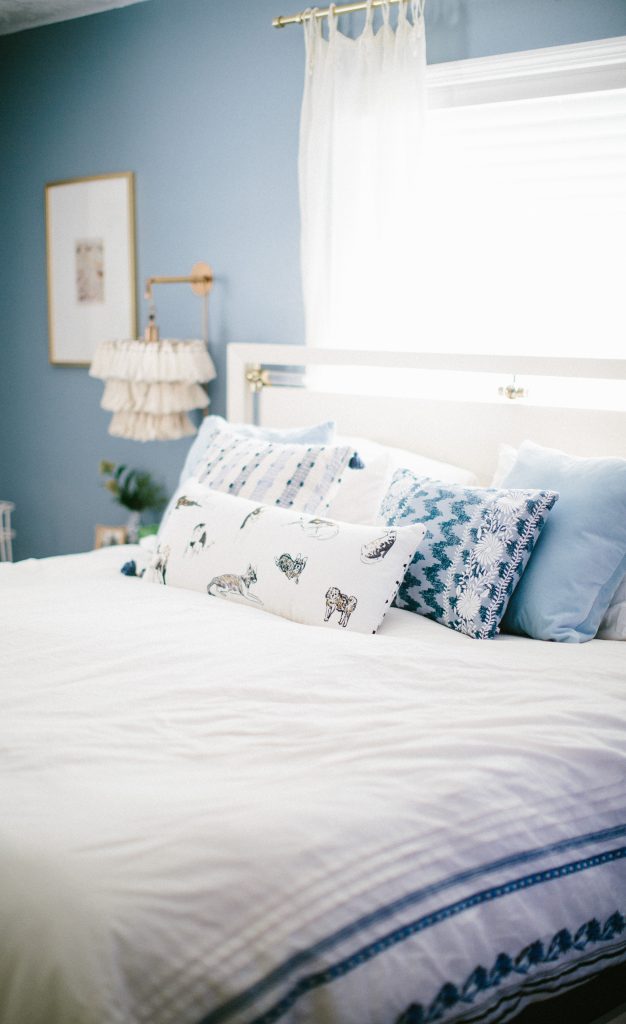
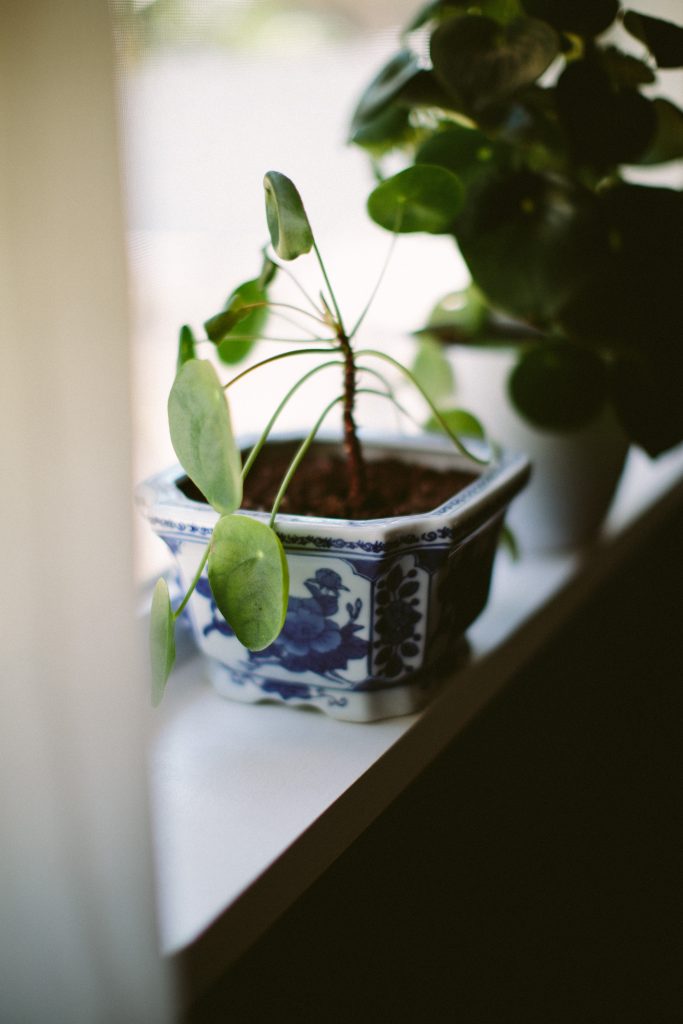
The first thing to go of course was the carpet. The ceiling had never been finished and the drywall was chipping. That all had to be scraped off and we did a different texture so that everything would be the same throughout (this room had swirl texture, that looks like a half circle pattern). We then sprayed the walls. There was wallpaper in the little vanity area so that had to come down. We took out old marble window sills and created wide wooden ones (for my plants, yay!). Then we added trim to the windows. Next was priming and painting. We did a wallpaper wall which was fun and new for us both to try, it turned out so pretty. Several people joked with me that we spent weeks scraping off wallpaper to put new wallpaper up?! Yes. I love wallpaper just not what was going on previously lol. Last we did the floors and added thick colonial style baseboards. I loved the look of thick baseboards in our 1920’s bungalow and wanted to add some vintage charm to this 70’s babe. We choose a similar style for the window trims. Next IT WAS TIME TO DECORATE! We still plan to rework the small walk in closet and expand the bathroom that is in our main suite but that will come a little down the road. Everything works it’s just ugly, haha. We’ll be taking our time to plan this out, we found a claw foot bathtub and will design around it because I have always wanted (needed?) one. Looking forward to phase 2 of the suite!
Decorating wise – we basically started completely over in this room. We got rid of most of our furniture when we moved knowing that we’d be living with my parents and that having more space was our number one requirement (since the bungalow was a 2/1 with 1,250 sq ft everything I had before felt miniature). The rooms were so tiny and there was not a true main bedroom/suite. When we upgraded to a king size mattress, it was basically the only thing that fit in the room. Having a true suite with space for a little sitting area has been a dream! I will highlight some of my finds below and link to what is still available!
These first few photos are the main bedroom from when we first looked at the house and then some of our work in progress…

Wall color: Behr “French Colony”
Wallpaper: Anthropologie “Meadow Bloom” (currently out of stock)
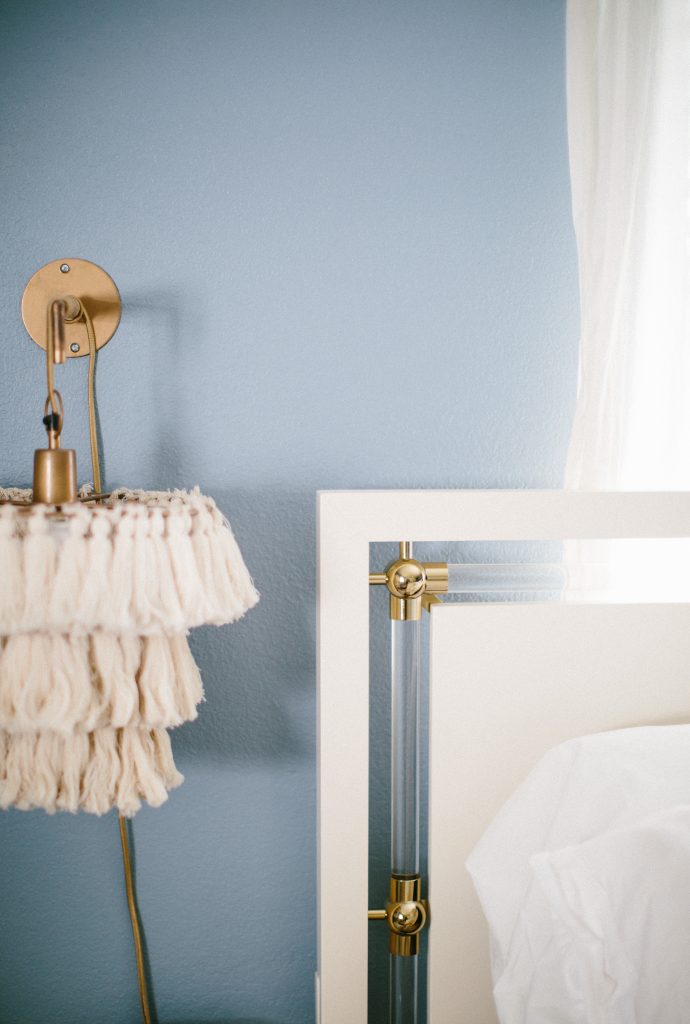
Bed Frame: Anthropologie Merriton Bed
Nightstands: Anthropologie Marcelle Charging Nightstand
Wicker Chair: Thrifted
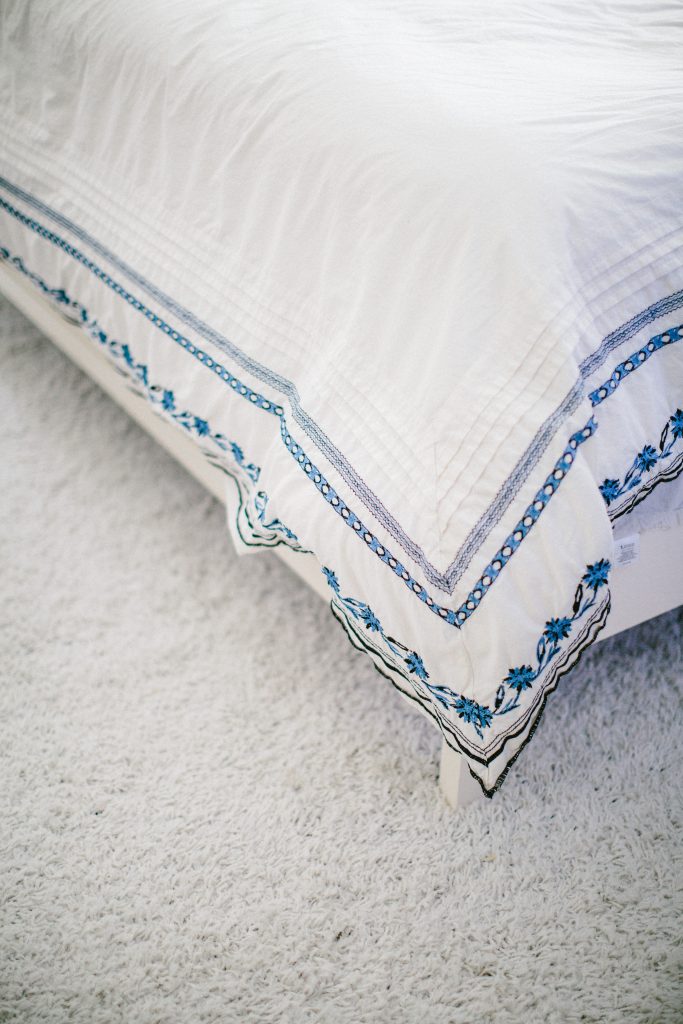
Duvet: Urban Outfitters (sold out)
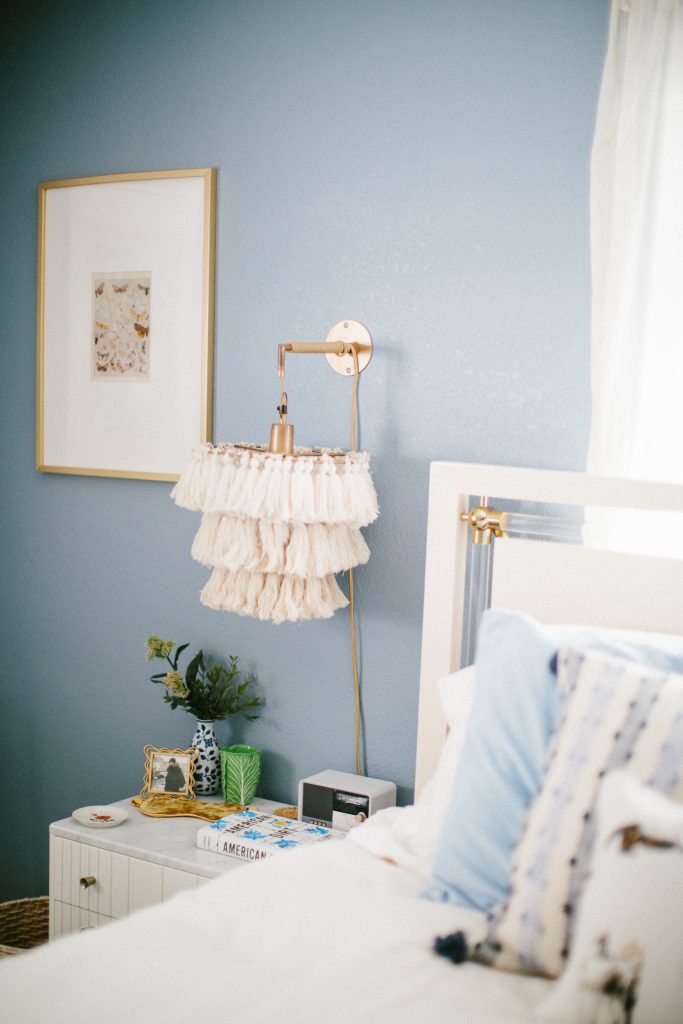
Sconces: Anthropologie (had these at our old house from a couple years back)
Vanity Light: Pottery Barn
Vanity Mirror: Target
Curtains: World Market
Baskets: Target (I have these all over for blankets and such, the light color is my fave)
Frames: Mix of Anthropologie & Thrifted
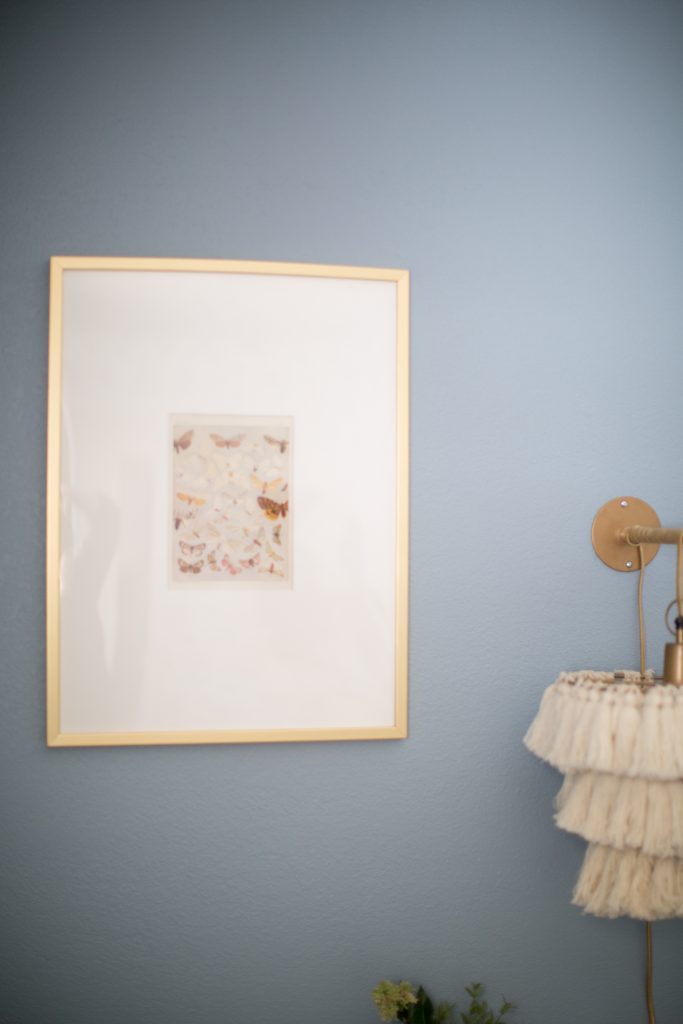
Butterfly Prints: Mount Dora Flea Market (in Target poster frames with custom mats)
Area Rug: Rugs USA
Dressers: Ikea (I need to hack these with some pretty knobs still!)
Throw Pillows: Dogs & Stripes – Anthropologie, Blue Velvet Covers – H&M, Floral Embroidered – Urban Outfitters
Fan: Hunter Fan Co
(Side note – this may seem like a weird thing to obsess over but it is a must to have fans in Florida. I really wanted something chic this time around. I love the Hunter brand and got these for all rooms, finally I don’t mind looking at the fan and actually think they are so pretty! This is not an ad although I wish it was, lol)
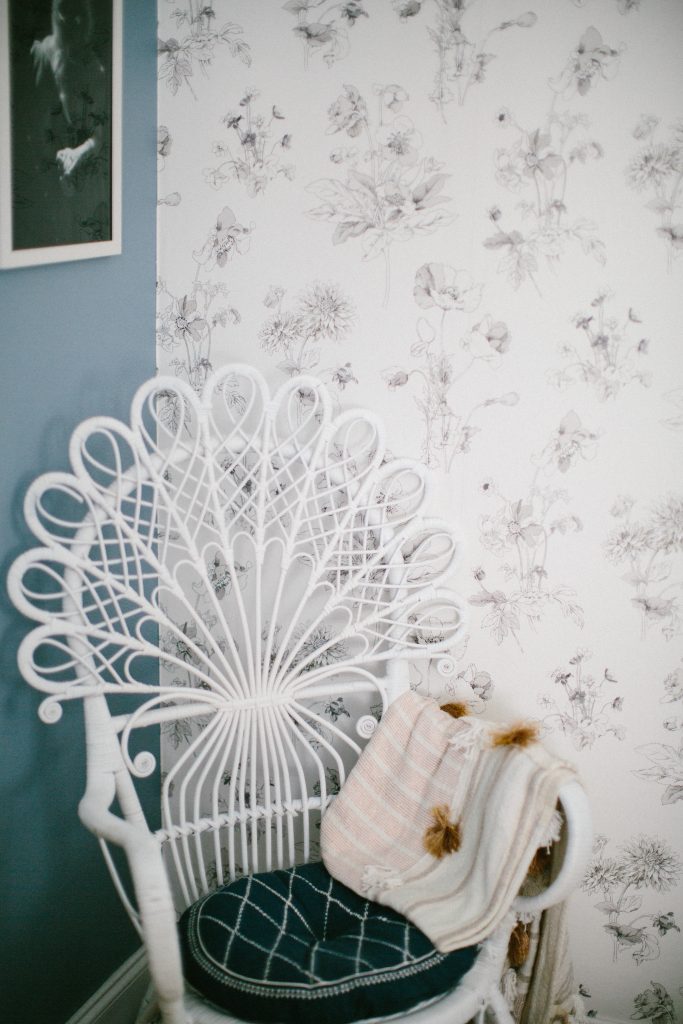
This chair is so fun! It was such a lucky $25 find at our local thrift store. I found the pillow at H&M for $12 and it fit perfectly.
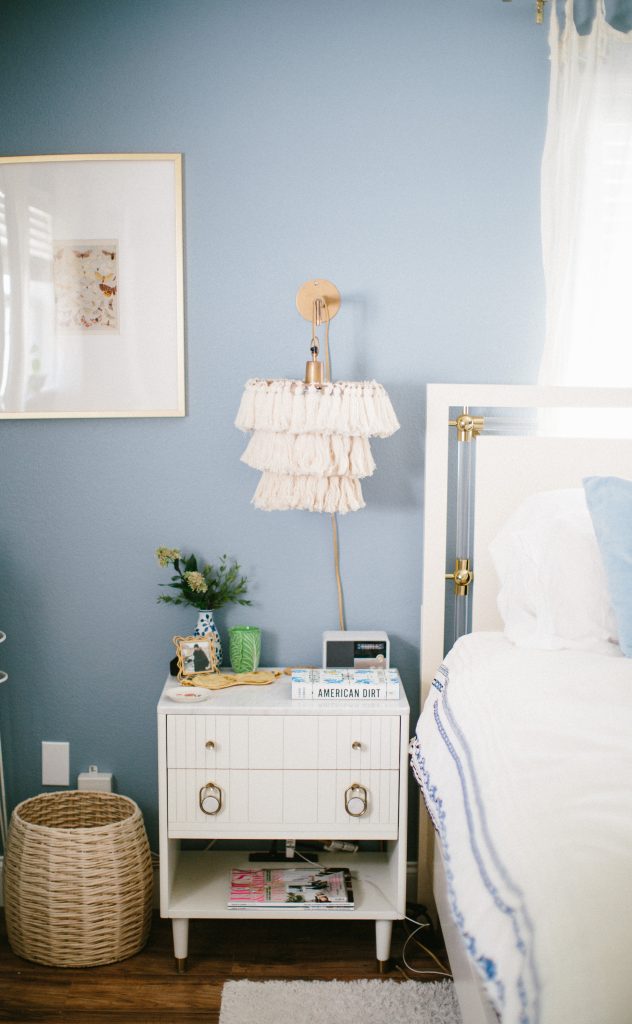
The nightstands were a splurge but I’m so happy we went with the charging stations. They are so convenient and beautiful. I know we’ll have these for years to come.
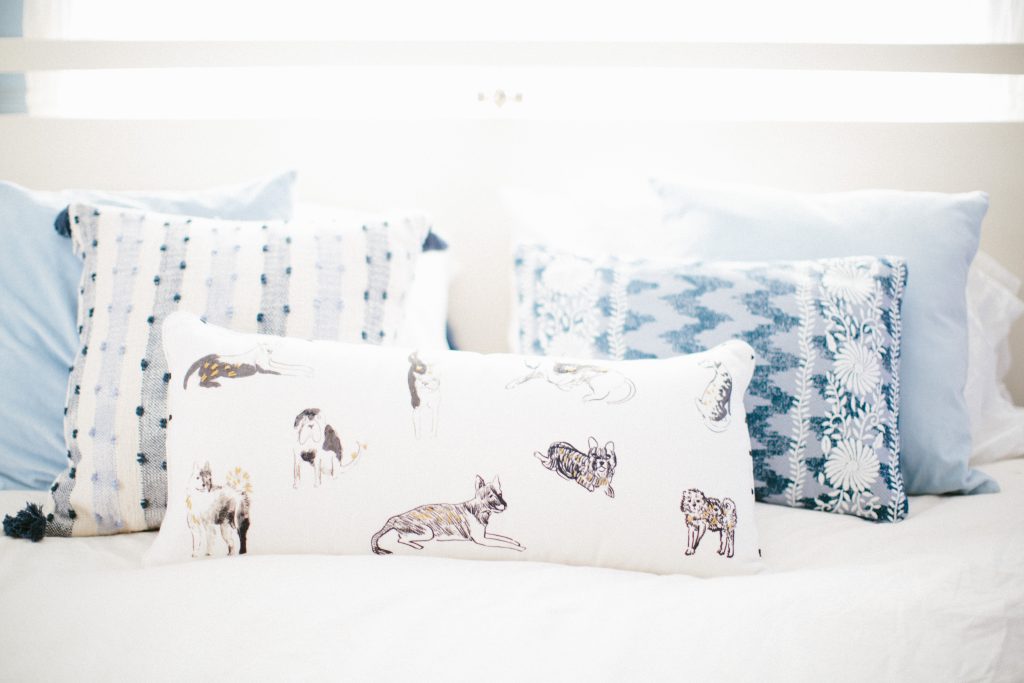
The throw pillow obsession is real. I love how they complete the look and can be switched around from room to room to keep things exciting 🙂
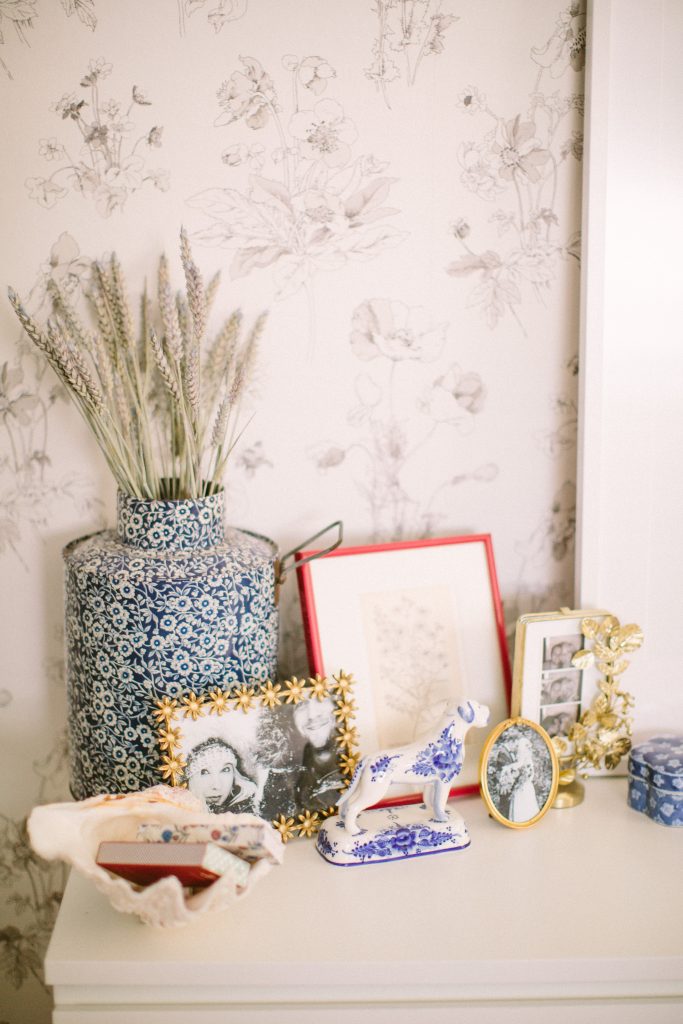
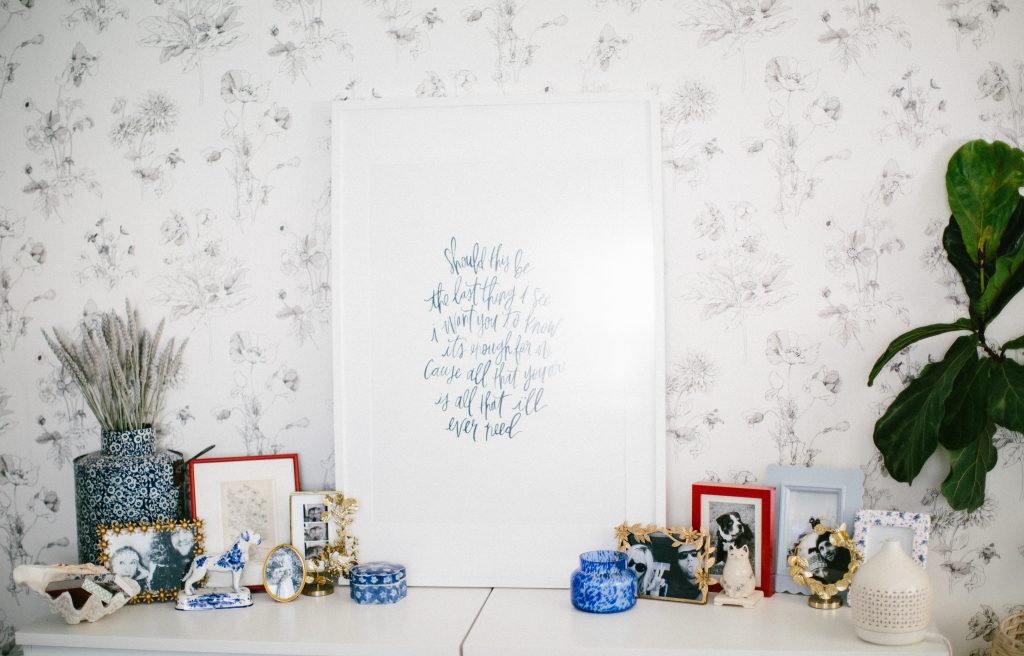
Thrifted & Etsy trinkets on our dressers & a quote I painted from our first dance song at our wedding (in an Ikea frame)
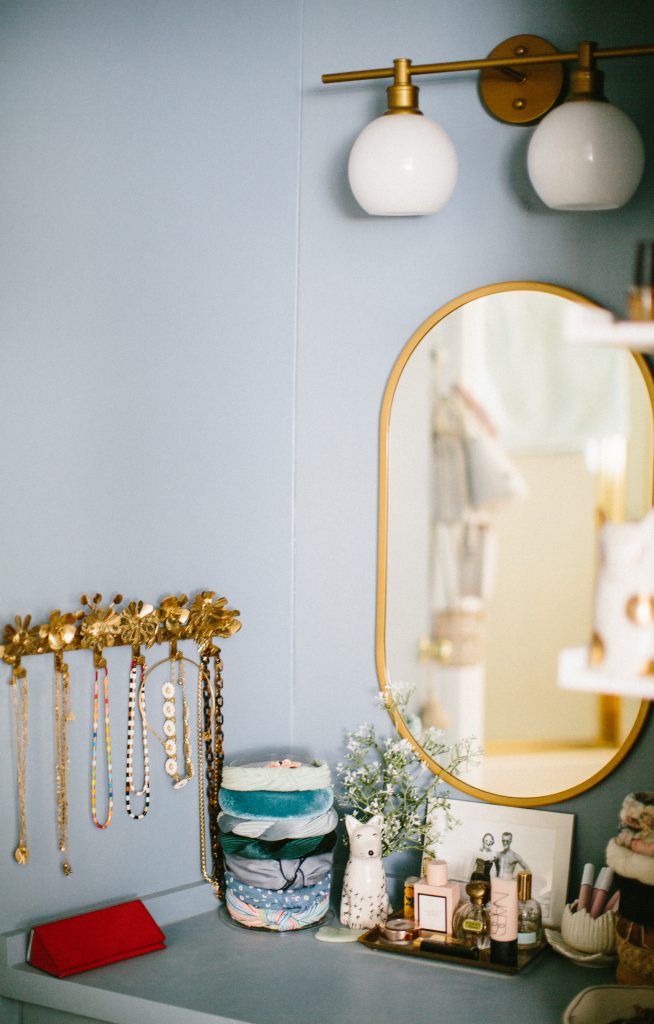
I was not sure how I felt about this little vanity alcove when we first moved in but now I sit here every morning to get ready.
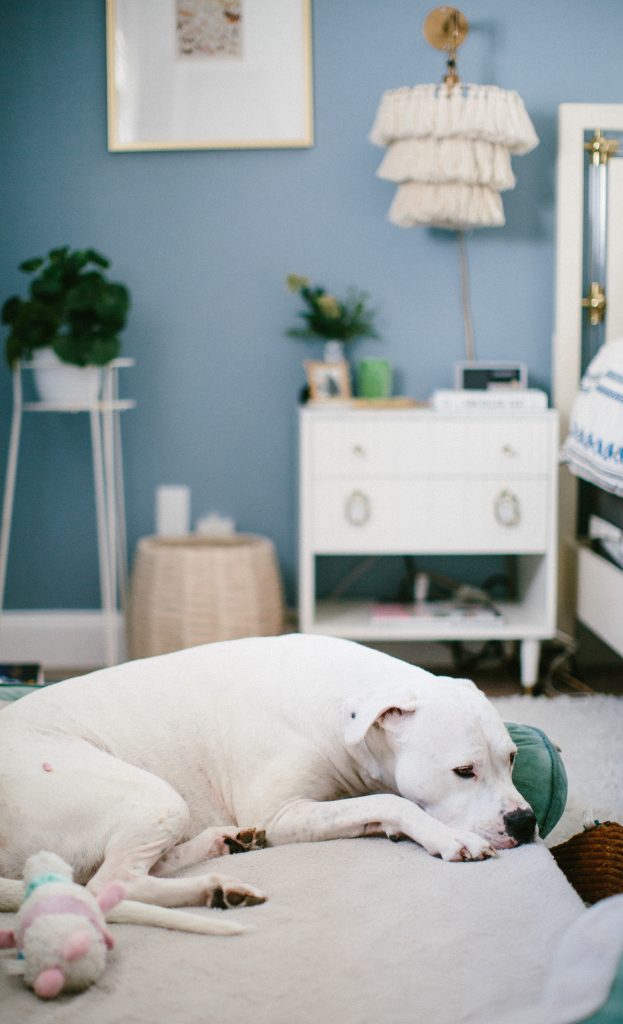
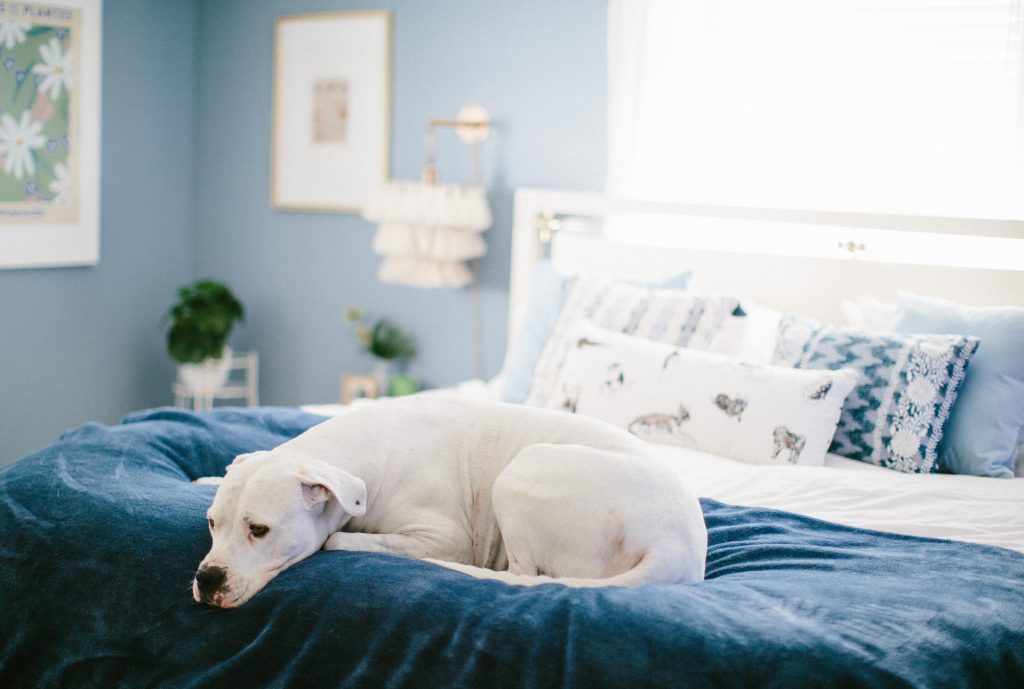
Instagram vs. Reality – If you have a pup, especially a big guy like ours…then you know how you have to accommodate. His giant bed is the not the cutest, but the cutest I could find (from Chewy). His blanket is usually covering most of my pretty white duvet for days when he decides he’s going to climb in bed (and at 110lbs I can’t exactly pick him up lol). He’s cute so we let it slide 🙂
Hope you guys enjoyed the tour and my ramblings. I’m so excited to continue documenting this process this year. I love looking back on how far we’ve come already!
XO